No Sun? Get Sun-Dried Tomato Flavor in Your Oven or Dehydrator
The bounty of a late summer garden can be both a blessing and a challenge. When your tomato plants are overflowing with ripe, juicy fruit, you might find yourself in a delightful dilemma: what to do with all these tomatoes? While canning salsa, making pasta sauce, or whipping up fresh gazpacho are popular options, there's another incredibly rewarding way to preserve that vibrant summer taste: by making "sun-dried" tomatoes. But what if you don't live in a hot, arid climate perfect for traditional sun-drying? No worries – you can easily replicate that intense, concentrated tomato flavor right in your own kitchen using an oven or food dehydrator. This guide will walk you through
how to make sun dried tomatoes in oven or dehydrator, ensuring you can savor the taste of summer long into the colder months.
Why "Sun-Dried" Tomatoes Without the Sun?
Traditional sun-drying requires consistent hot temperatures, very low humidity, and often several days of exposure, leaving your precious produce vulnerable to dust, insects, and unpredictable weather changes. For many home gardeners and culinary enthusiasts, these conditions are simply not feasible. This is where your kitchen appliances become your best allies.
Using an oven or a food dehydrator allows you to control the environment precisely, offering a faster, more hygienic, and more reliable way to achieve that deeply savory, chewy texture we associate with sun-dried tomatoes. While technically not "sun-dried," the end product delivers the exact same intense flavor and versatility. It's a fantastic solution for preserving your harvest when you've already filled your pantry with canned goods and are looking for a unique, concentrated burst of flavor. Imagine adding that robust, sweet-tart taste to winter soups, stews, or even a simple pasta dish – it's a game-changer!
Choosing and Preparing Your Tomatoes for Dehydration
The success of your homemade "sun-dried" tomatoes largely depends on the type of tomatoes you select and how you prepare them. While almost any tomato can be dehydrated, some varieties yield better results due to their flesh-to-seed ratio and moisture content.
*
Best Choices:
*
Cherry Tomatoes: These are often considered ideal because of their small size and relatively low moisture content. They require minimal preparation, making them a time-saver.
*
Grape Tomatoes: Similar to cherry tomatoes, they are small and meaty.
*
Paste Tomatoes (e.g., Roma, San Marzano): These varieties are naturally less watery and have thicker walls, which makes them perfect for drying as they hold their shape well and dry more efficiently.
*
Campari Tomatoes: A good mid-sized option with good flesh.
*
Tomatoes to Be Cautious With: Larger, very juicy slicing tomatoes (like Beefsteaks) can still be used, but they will require more extensive preparation (cutting into smaller pieces) and a longer drying time due to their high water content.
Once you've chosen your tomatoes, preparation is key:
1.
Wash Thoroughly: Rinse your tomatoes under cool water and pat them dry.
2.
Slice and Core:
* For
cherry or grape tomatoes, simply slice them in half lengthwise. You can gently squeeze them to remove most of the seeds and gel, which speeds up drying.
* For
paste tomatoes (or any tomato larger than 2 inches), cut them in half lengthwise, then quarter them if they are still quite large. Remove the core and as many seeds as possible. The goal is to maximize the surface area for drying and remove excess moisture from the seeds.
3.
Optional Seasoning: For an extra layer of flavor, you can lightly sprinkle the cut sides of your tomatoes with a pinch of sea salt, black pepper, or even some dried herbs like oregano or thyme before drying. This not only enhances the taste but the salt can also help draw out a bit more moisture.
The Oven Method: Low and Slow Perfection
Using your conventional oven is an excellent and accessible way to dehydrate tomatoes, especially if you don't own a dedicated food dehydrator. The key here is a low temperature and patience. This method concentrates the flavors beautifully and is surprisingly hands-off once set up.
1.
Preheat Your Oven: Set your oven to its lowest possible temperature, typically between 175°F (79°C) and 225°F (107°C). Lower is generally better, as you want to dehydrate, not cook, the tomatoes.
2.
Arrange on Baking Sheets: Line large baking sheets with parchment paper or silicone mats. Arrange your prepared tomato halves, cut-side up, in a single layer, ensuring they don't touch. This allows for even air circulation.
3.
The Drying Process: Place the baking sheets in the preheated oven. The drying time will vary significantly based on your oven, the size and moisture content of your tomatoes, and even the humidity in your kitchen.
*
Initial Phase: Check after 2-3 hours.
*
Continued Drying: Expect the process to take anywhere from 4 to 8 hours, and sometimes even longer for larger, juicier tomatoes.
*
Crucial Tip: To aid in moisture escape and prevent the tomatoes from "steaming," prop your oven door open slightly with a wooden spoon or heat-proof object. This allows humid air to escape and fresh, dry air to circulate.
4.
Monitor and Rotate: Keep a close eye on your tomatoes, especially as they near the estimated drying time. Rotate the baking sheets occasionally for more even drying. Remove any smaller tomatoes that dry faster to prevent them from becoming overly crisp or burnt.
5.
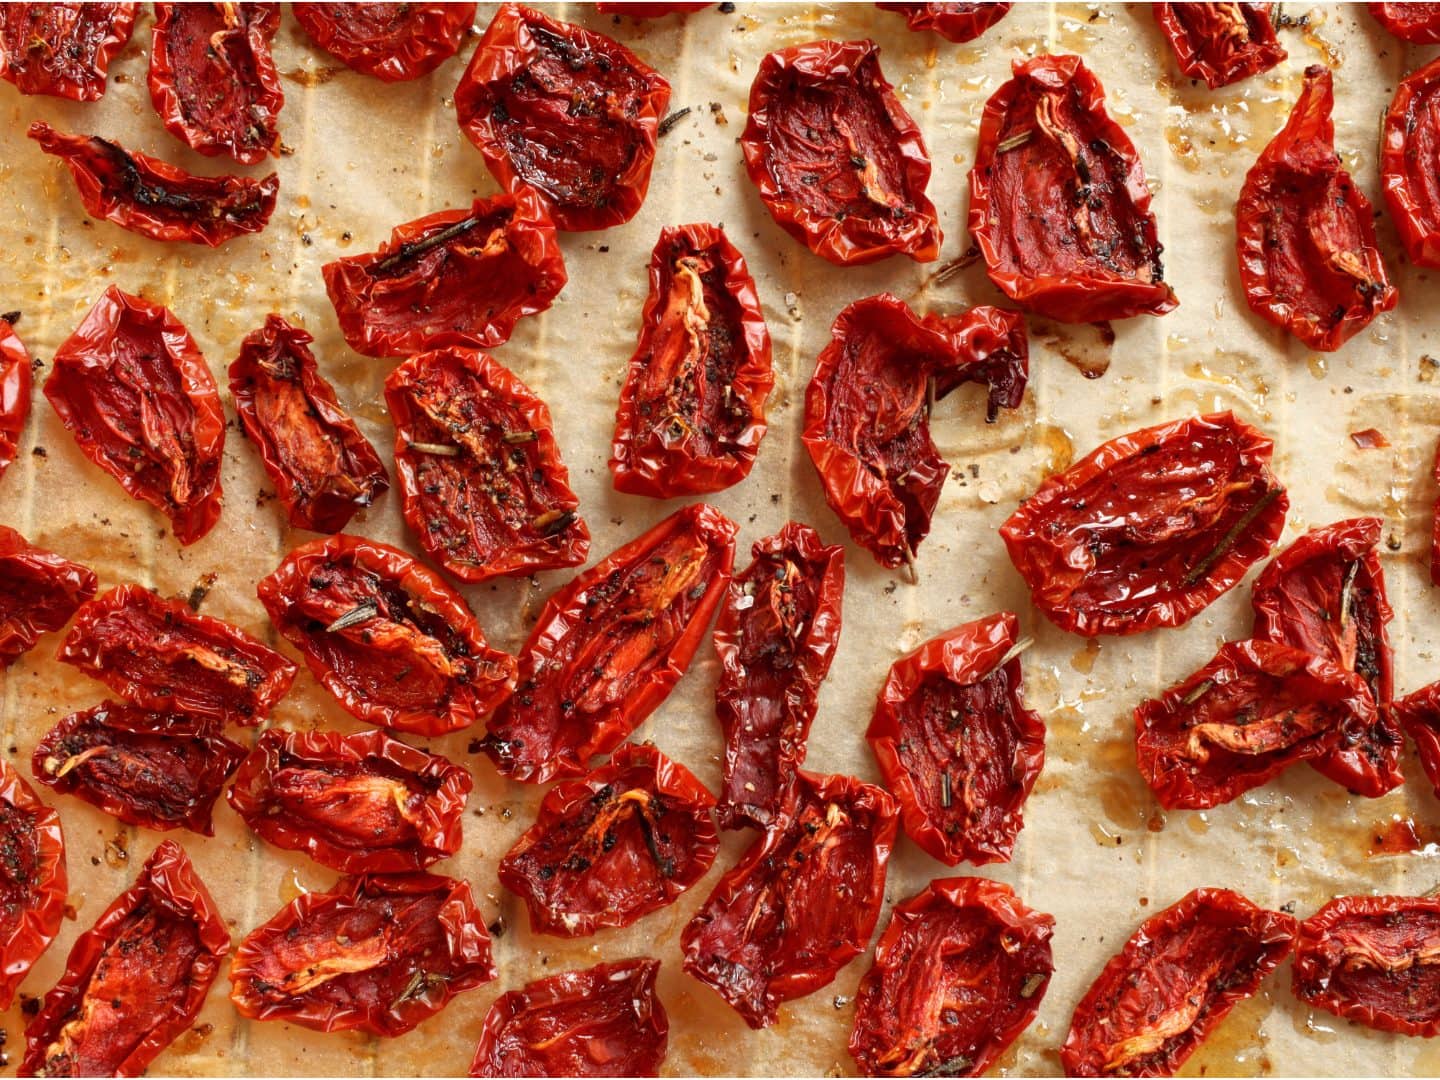
Checking for Doneness: Your tomatoes are done when they are significantly shriveled, leathery, and pliable. They should feel dry to the touch but still have some give – they shouldn't be brittle or crispy unless that's your preference. There should be no moisture oozing out when you squeeze them. If they still feel soft or moist, continue drying.
Dehydrator Method: Consistent and Energy-Efficient Drying
For those who frequently preserve food, a dedicated food dehydrator offers unparalleled consistency and energy efficiency compared to using an oven for extended periods. It provides a controlled, circulating airflow that gently removes moisture without cooking. This is truly the easiest way to
preserve garden tomatoes with an easy oven or dehydrator drying method.
1.
Prepare Tomatoes: As described above, wash, slice, and remove seeds from your chosen tomatoes. Season if desired.
2.
Arrange on Trays: Place the prepared tomato halves, cut-side up, in a single layer on your dehydrator trays. Ensure there's adequate space between each piece for optimal air circulation. Overcrowding will extend drying time.
3.
Set Temperature: Most dehydrators have specific settings for vegetables. A good starting point for tomatoes is usually between 125°F (52°C) and 135°F (57°C).
4.
Drying Time: This process typically takes longer than in an oven, but it's much less hands-on. Expect anywhere from 6 to 12 hours, or even up to 18 hours for very large or moist tomato pieces.
5.
Monitor and Rotate (Optional): While dehydrators are designed for even drying, it's still a good idea to check the tomatoes periodically. Some dehydrators may benefit from rotating trays from top to bottom every few hours to ensure uniform drying.
6.
Checking for Doneness: Just like with the oven method, look for tomatoes that are shriveled, leathery, and pliable. They should feel dry to the touch, with no soft spots or moisture. They should bend rather than snap.
Storing Your Homemade "Sun-Dried" Tomatoes and Creative Uses
Once your tomatoes are perfectly dried, proper storage is crucial to maintain their flavor and prevent spoilage.
*
Air-Tight Containers: For short-term storage (a few weeks), place the dried tomatoes in an airtight jar or container at room temperature.
*
Olive Oil: For a traditional approach and enhanced flavor, pack the dried tomatoes tightly into sterilized jars, then cover completely with good quality olive oil. You can add garlic cloves, fresh herbs (like rosemary or thyme), or chili flakes to the oil for extra flavor. Ensure all tomatoes are fully submerged. Store in the refrigerator for several months.
*
Freezing: For long-term storage (up to a year), dried tomatoes can be frozen. Place them in a single layer on a baking sheet to freeze solid, then transfer them to freezer-safe bags or containers. This prevents them from clumping together.
*
Vacuum Sealing: For ultimate freshness and extended shelf life, vacuum-seal your dried tomatoes in bags. Store in a cool, dark place or refrigerate.
Now for the fun part – using your delicious creation! Homemade "sun-dried" tomatoes are incredibly versatile:
*
Pasta Dishes: Chop and toss into your favorite pasta, or blend into a creamy sauce.
*
Salads: Add a chewy, flavorful burst to green salads or grain bowls.
*
Sandwiches & Wraps: Elevate a simple sandwich or wrap with their concentrated flavor.
*
Pesto & Spreads: Blend with basil, nuts, cheese, and olive oil for a unique twist on pesto, or create a savory dip.
*
Baked Goods: Incorporate into savory muffins, breads, or scones.
*
Eggs: Chop and add to omelets, frittatas, or scrambled eggs.
Making "sun-dried" tomatoes in your oven or dehydrator is a rewarding experience that transforms a common garden vegetable into a gourmet ingredient. It's an efficient and delicious way to capture the essence of summer, allowing you to enjoy vibrant tomato flavor no matter the season.